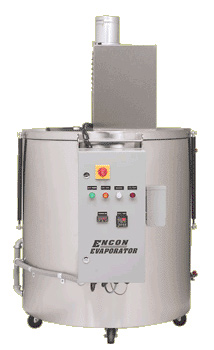
How A Drum Evaporator Works
Converting Waste Drums to Water Vapor Using a DE-2 Drum Evaporator in Batch Mode
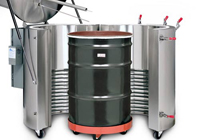
Drum Evaporator Batch Operation Step 1:
Place a 55 gallon open top drum onto the drum dolly. Transfer wastewater into the drum to within 6-8 inches of the top. With the evaporator in the full open position, roll the drum into the evaporator. Wrap the rope gasket around the drum so that a positive seal will be made when the clamshell walls are closed.
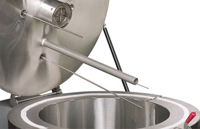
Batch Operation Step 2:
Close the clamshell walls and secure the lid with latching handles.
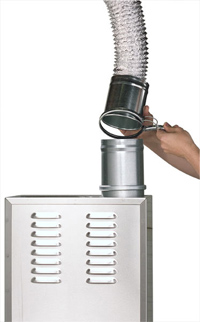
Batch Operation Step 3:
The evaporator stack is then connected to the flexible section of the permanent exhaust stack with a quick disconnect fitting.
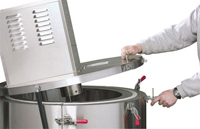
Batch Operation Step 4:
Run the supply power to the top of the disconnect switch and through the bottom of the control panel enclosure.
Batch Operation Step 5:
With the main power on, allow the system to heat up to boiling temperature. The system will shutdown upon reaching the low level or high temperature set point which is factory set in your control panel.

Auto Fill Option (DE-4, DE-2 with Auto Fill Option):
The ENCON DE-2 Drum Evaporator can be modified to run in the auto-fill mode (optional high level probe required). The ENCON DE-4 only operates in auto-fill mode. This mode requires plumbing from a feed pump to the inlet on the top of the evaporator lid. This allows the automatic and continuous refilling of the evaporator between the height of the two level probes until either the high temperature set point is reached or there is no longer water to be processed in the holding tank (See Typical Drum Evaporator Installation).